Happy Saturday friends! This past week, I got to attend the CUE Conference in lovely Palm Springs, CA. If you're wondering what it is, CUE is the largest and oldest education technology conference in
CA. Over the past 30 years, CUE has helped educators, technology coordinators,
administrators learn how technology can
support student achievement growth in the classroom. It's really been an awesome experience getting to see first hand what educators are using in the classroom and most importantly...what works!
Since we're piloting the 1:1 Chromebooks in my classroom, most of the sessions I attended were Chrome or Google App related. But one of the sessions I attended was all about using QR codes in the classroom. Hmm...I thought to myself. I've seen 'em. I've even bought products that had these fuzzy square shaped things in them! I mean, I essentially knew you just pointed your cellphone or iPad camera at the image and BAM! You'd get a message,
website, or image sent to your phone. Well my sweet education friends, there is SOO much more you can do with QR codes...especially in the classroom! So, today I'll be showing you step-by-step on how to create your own QR codes.


Before I go onto the tutorial I have planned, here are a few quick facts about these magical square boxes...let the tech nerd in me share what I learned at my conference! ;)
- QR is an acronym for
- Static QR code=always goes to just 1 place
- Dynamic QR code=code stays the same BUT it takes them somewhere else each time
- Use them to embed images, links, numbers, or videos
- Holds more info than a traditional code=unlimited possibilities!

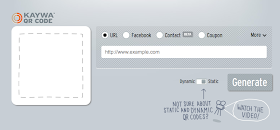
There are TONS of QR code generators out there. A few suggested ones are Kaywa and GOQRme. Both are free and easy to use. I'm using Kaywa for this tutorial. I wanted to start with something simple...not complex for my qr code. I thought creating planet review cards for my kids would be the perfect addition to our Solar System Unit. So, I started out by creating an account with Kaywa. Once I signed up, I chose to create a static QR code that would always go to the same website or text when the kids scanned it. This is what you would see on your screen at this first step.
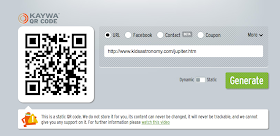
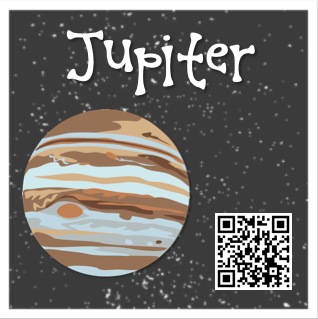
Next, I would choose where I'd like the code to go when it is generated. I picked a url for the planet Jupiter. Once you click generate, you'll see the QR code pop up! YAY! You've just created your first QR code!
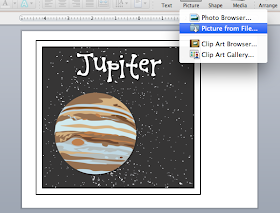
And here is the finished product! Now when a student scans this Jupiter planet card, it will take them to a reading informational text passage about this specific planet!
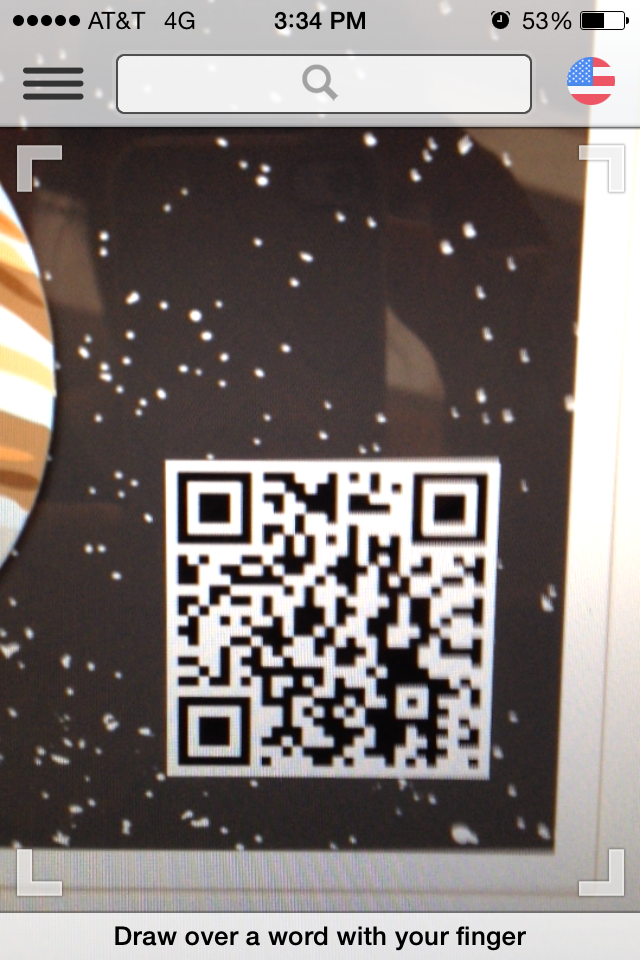

number of scans by analyzing your data...similar to what google
analytics does for blogspot
blogs. You can see how many times your QR code was scanned or looked at, where and if they are being scanned. ALL sorts of great data! If you link the QR code to you blog or site this would be a great tool to see what traffic is being brought to your site.
That's it my sweet friends! You are now ready and able to create a QR code on your own! You don't only have to use them for reading passages. QR code serve SO many purposes in the classroom! Here are a few ideas I've seen/heard from other teachers:
- Create QR codes that need to be looked at in a dictionary or book
- Put them around the school library with links to book reviews and blog posts
- Kids can scan and launch QR codes with mobile devices like iPads or tablets
- Make a QR code to link to a specific video or tutorial
- Have a scavenger hunt around the classroom
- Take a virtual field trip to anywhere the code takes you
The possibilities are endless! I hope you've learned a thing or two about using and creating QR codes for your classroom! What do you see yourself using QR codes for? I'd love to hear all about it!

Thanks for sharing this post!! I have often wonder how everyone was making QR codes, but wasn't sure of the process. This will come in handy.
ReplyDeleteJamie